Some of the links in this post may be affiliate links. If you decide to buy through them, it helps us grow Sprout Share.
Thank you for your support.
Keywords: allotment layout, plot design, maximum yield, allotment planning, beginner gardening, UK allotments, vegetable garden layout
While the average UK allotment waiting list stretches 40 months, we managed to skip the queue entirely (you can read about our approach in our guide to finding an allotment without waiting lists). Now comes the reality check: effective allotment layout planning is crucial, but most of us have no clue where to start. With standard UK allotments measuring around 10 rods (roughly 250 square metres), there’s real potential here, but also real ways to mess it up.
Whether your plot is 30 square metres or the full allocation, successful allotment layout principles remain the same. Let’s break down how to turn that patch of earth into something productive without the trial-and-error approach that wastes entire growing seasons.
Understanding Your Space First
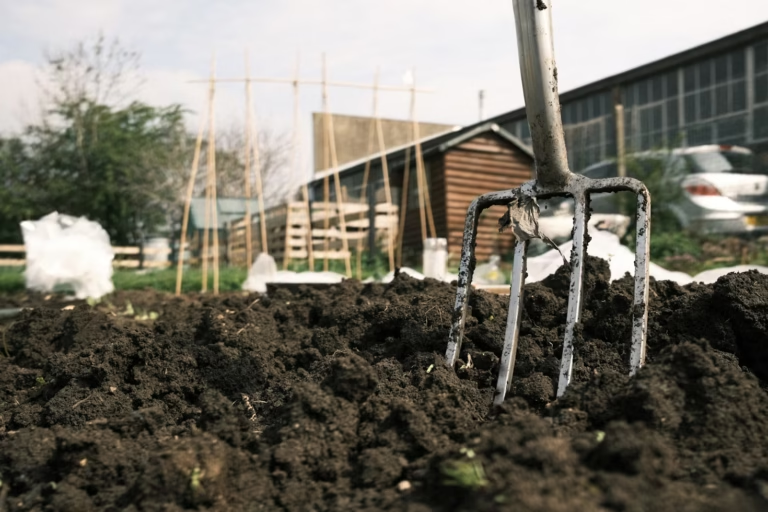
Before we do anything else, we need to understand what we’re working with. Every plot has quirks; some drain well, others turn into swamps after rain. Some get morning sun, others are shaded by neighbouring trees. These aren’t problems to solve; they’re conditions to work with.
Spend time observing your plot at different times of day. Notice where water collects, which areas get the most sun, and how the space feels to move around in. The RHS guidance on making the most of your plot emphasises this observation period as crucial for avoiding costly mistakes later.
Step 1: Map What’s Already There – Essential Allotment Layout Planning
Start with a simple sketch of your plot boundaries and existing features. Mark down any structures, established plants, or permanent fixtures that aren’t going anywhere. Include things like water access points, neighbouring plot boundaries, and any obvious drainage issues.
This isn’t about creating a perfect drawing it’s about understanding the reality of your space. Note areas that stay wet, spots that seem to dry out quickly, and any slopes or level changes. These observations will guide every decision from crop placement to path design.
Step 2: Design Paths That Work in Your Allotment Layout
Paths aren’t wasted space, they’re essential infrastructure. Without proper access, we end up compacting soil and making simple tasks unnecessarily difficult. The key is positioning a main path through your plot with smaller access routes to reach all growing areas.
For the main path, aim for at least 60cm width to accommodate wheelbarrows and comfortable movement. Smaller paths between beds can be 30-40cm wide. Just enough for harvesting without stepping on growing areas. The National Allotment Society recommends planning these paths before establishing any growing areas.
Step 3: Zone by Maintenance Requirements
Think practically about how often you’ll need to access different areas. High-maintenance crops like salads and herbs should be closest to your entrance and water source. Seasonal crops that need less frequent attention can be further back, with perennial crops and infrastructure in the less accessible areas.
This zoning approach prevents the daily trek across your entire plot just to harvest dinner. Position storage, compost areas, and utility features at the back or edges where they won’t interfere with regular maintenance tasks.
Step 4: Plan Bed Layouts for Efficient Allotment Layout
Most beginners overthink bed design when planning their allotment layout. The goal is creating growing spaces you can maintain without stepping on the soil. Standard raised beds work well at 1.2 metres wide. You can reach the centre from either side without compacting the growing area.
For larger crops like potatoes or brassicas, traditional rows might be more practical. The choice depends on your plot’s characteristics and what you want to grow. Planning tools like VegPlotter can help visualise different layout options before committing to one approach.
Step 5: Position Infrastructure Strategically
Every productive allotment needs infrastructure, but it shouldn’t dominate the space. Water access is crucial. Position water collection points to catch rainwater from shed roofs and ensure taps are accessible from all growing areas.
Storage needs vary, but most plots benefit from a secure shed for tools and a separate area for compost bins. If you’re planning a greenhouse or polytunnel, position these based on sun patterns throughout the day, ensuring they won’t shade prime growing areas during peak season.
Step 6: Build Crop Rotation into Your Allotment Layout
Crop rotation prevents soil depletion and disease build-up by moving plant families around your plot. Divide your main growing area into three or four sections, rotating between legumes (beans, peas), brassicas (cabbage, broccoli), root vegetables (carrots, parsnips), and everything else.
This rotation planning influences bed placement and sizing in your allotment layout, ensuring each section can accommodate different space requirements. The RHS advice on crop rotation provides detailed guidance on implementing this system effectively.
Step 7: Plan for Seasonal Changes and Growth
A good allotment layout accommodates changing needs throughout the year. Winter storage crops require different space than summer salads, and your layout should handle these changes without major reconstruction.
Start with simpler bed layouts that can be subdivided later as skills develop. Leave space for expansion; areas you’re unsure about can become additional growing space once you’ve mastered the basics. This flexibility prevents the need to redesign everything as your experience grows.
Implementing Your Layout Practically
Start with infrastructure and permanent features, then work towards growing areas. This prevents having to work around established plants when installing essential structures. Begin with just a portion of your plot rather than attempting everything at once.
Success with a smaller, well-managed area builds confidence and provides learning opportunities before expanding to the full allocation. Many successful allotment holders recommend starting with no more than half your plot in the first year.
Common Allotment Layout Mistakes to Avoid
The most common mistake is trying to use every square metre immediately. This leads to overwhelmed gardeners and neglected growing areas. Another frequent error is positioning infrastructure as an afterthought, resulting in poor access and inefficient workflows.
Avoid the temptation to copy allotment layouts from other plots without considering your specific conditions. What works for a south-facing, well-drained plot might be completely inappropriate for a north-facing, heavy clay situation.
Resources for Planning and Implementation
When planning your layout, be sure to check your Allotments rules for useful information about typical plot sizes and regulations. Local council websites often have specific guidelines for allotment holders in your area.
For practical planning tools, Allotment Garden’s plot planning software offers templates and design ideas. The Allotment Book layout guide provides practical examples of different approaches.
Community support is invaluable during the planning phase. The Allotment Garden Community Forum connects new holders with experienced growers who can offer site-specific advice.
Moving Forward with Your Allotment Layout
Remember that no allotment layout is perfect from day one. The goal is creating a functional space that supports your growing goals while fitting your available time and energy. Start with the basics, observe how your plot responds, and adjust accordingly.
Each season brings new understanding, and every growing year refines your approach. The key is building a layout that works for your specific situation rather than trying to achieve someone else’s version of perfect.